
Scan a Document to Email
This task can be done at any of our three copy machines. You can also scan to your flash drive by inserting your flash drive, choosing Workflow Scanning, followed by USB. If you are not at our “Pharos” copy machine by the public computers, you can skip the logging in step.
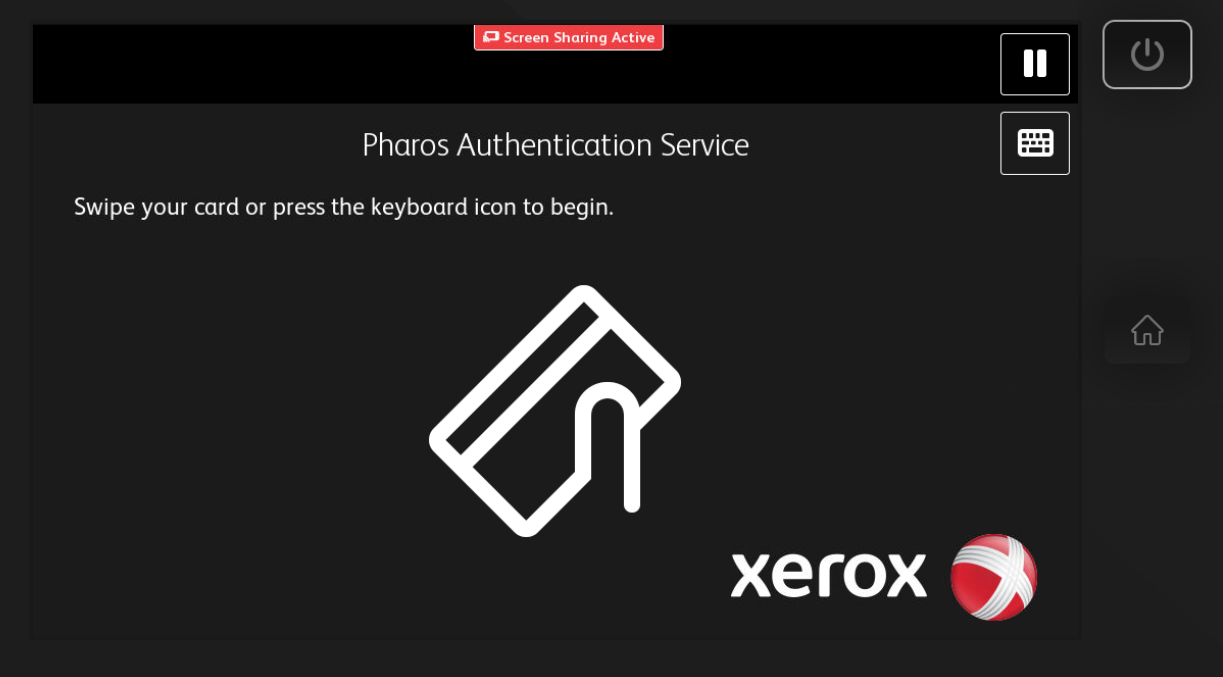
First click the keyboard button to login to the copier with your library card or visitor pass information.
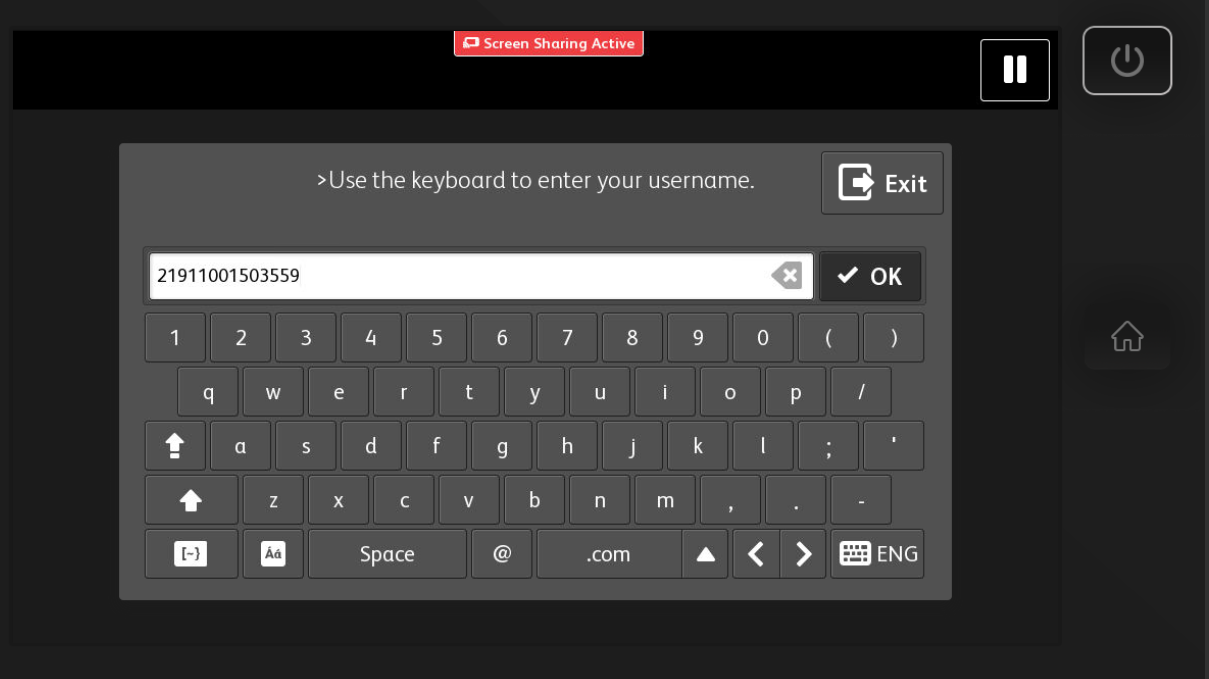
Now you will enter your library barcode or visitor pass username using the keypad on screen. When you are done tap OK.
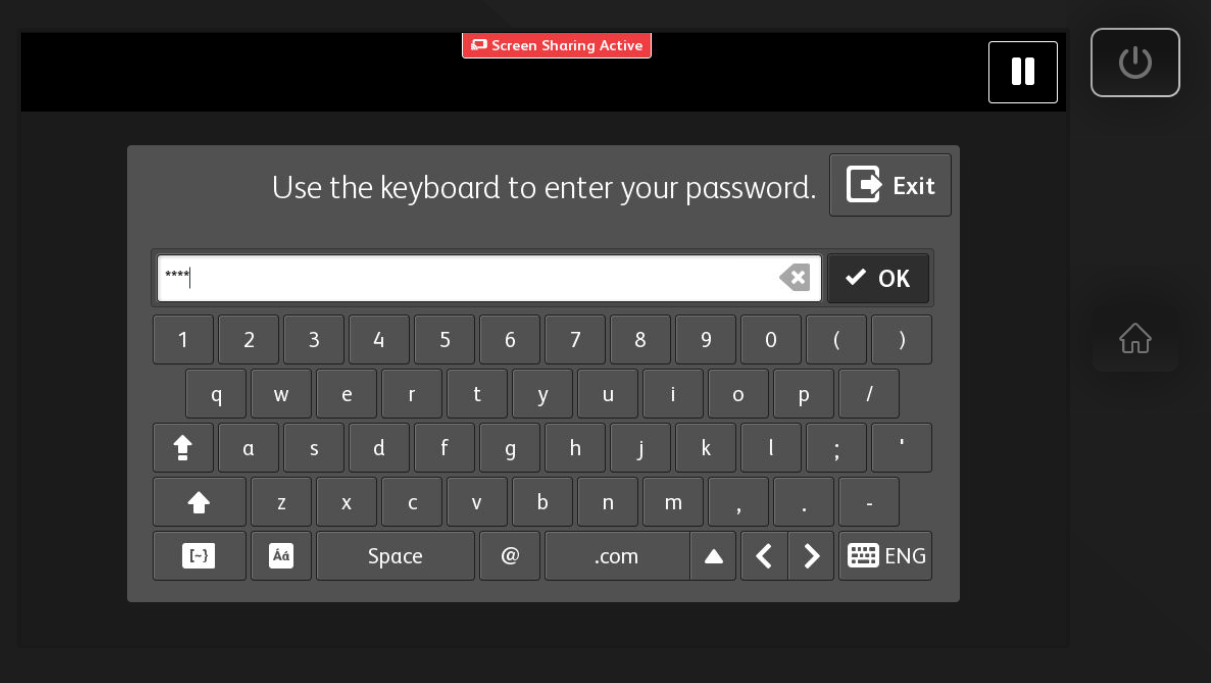
Now enter your PIN# and click OK once again, you have now logged in to the copier.
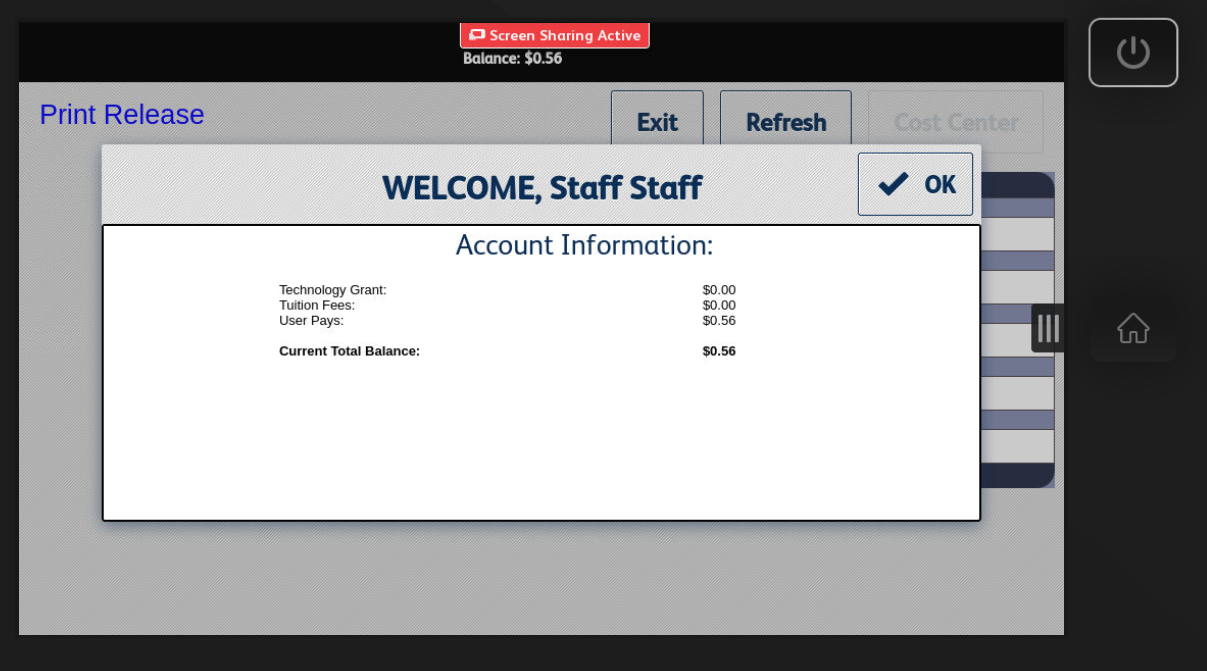
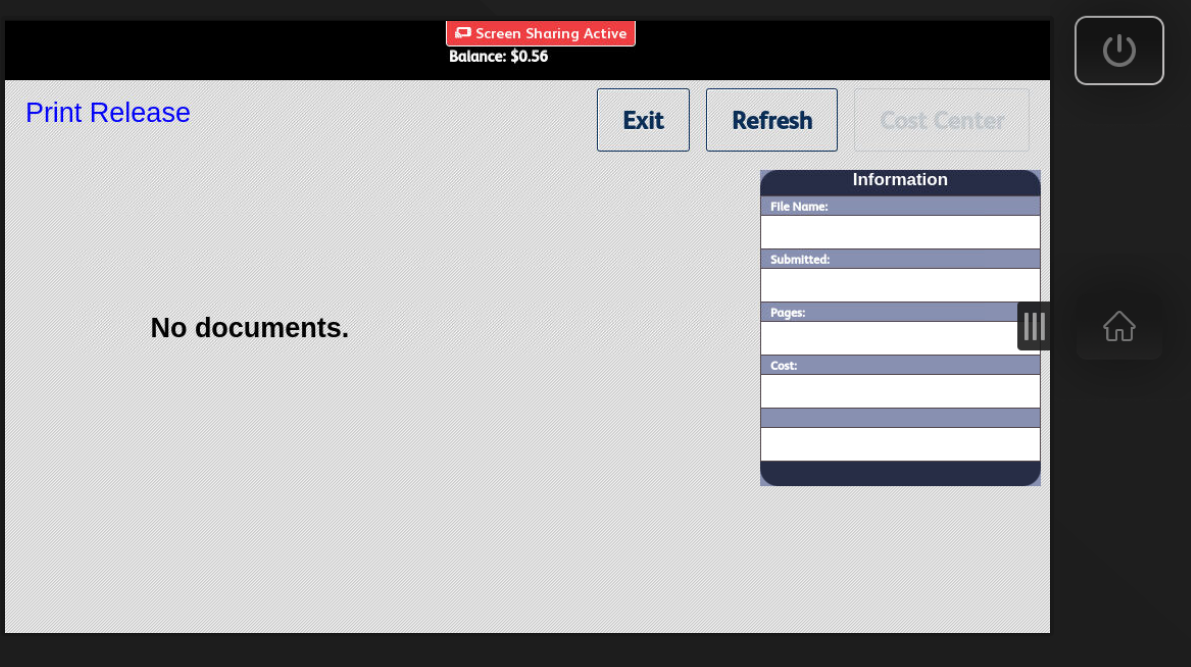
Now that you have logged in to the copier you will see a screen showing you your balance and any print jobs in the que. Scan to Email is a free service so do not worry if your balance is 0.
Next Click OK, and then click Exit to reach the Home Screen of the copier.
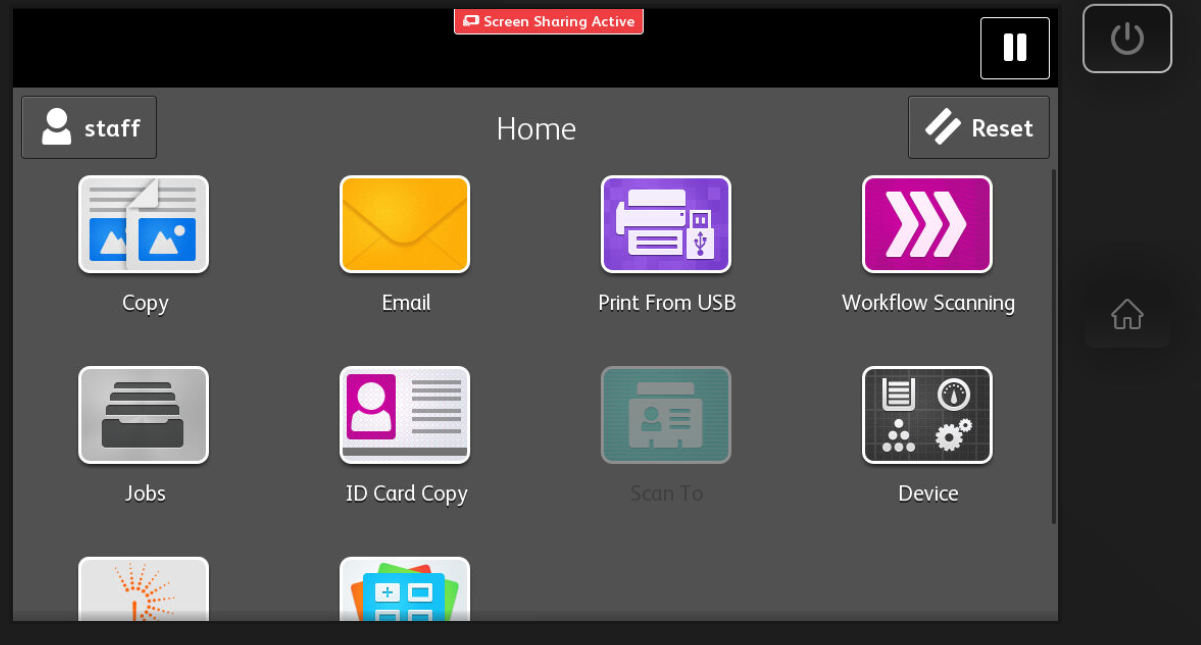
From the Home Screen you will now choose Email to start the scanning of your document to an email address.
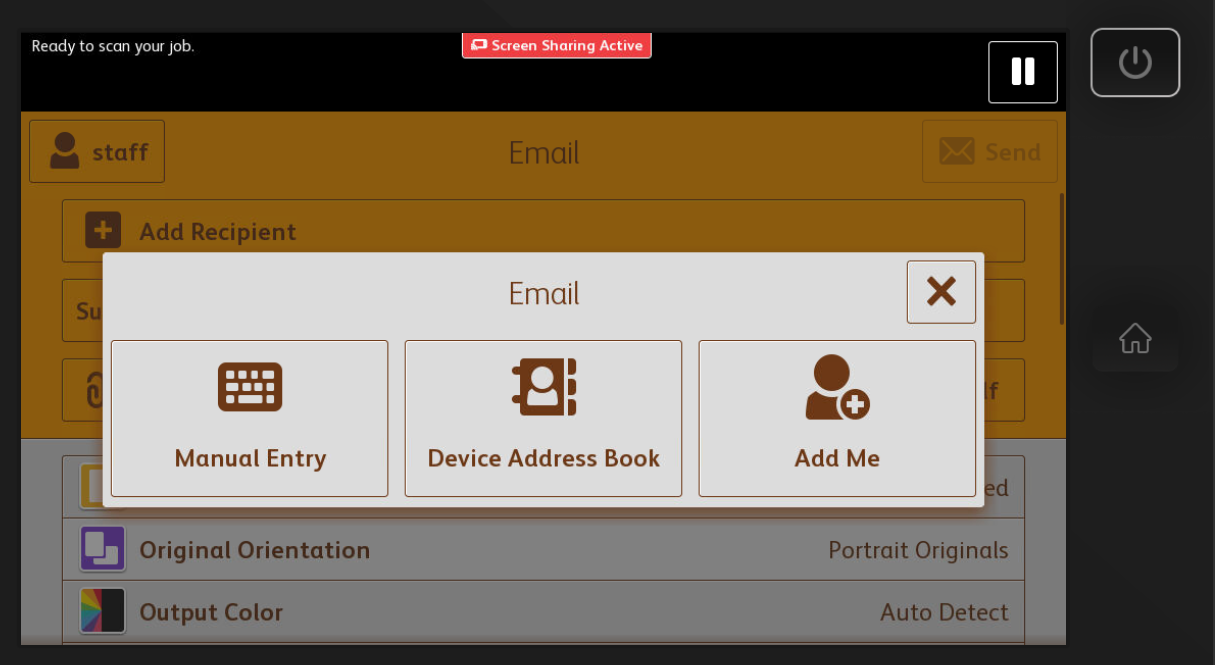
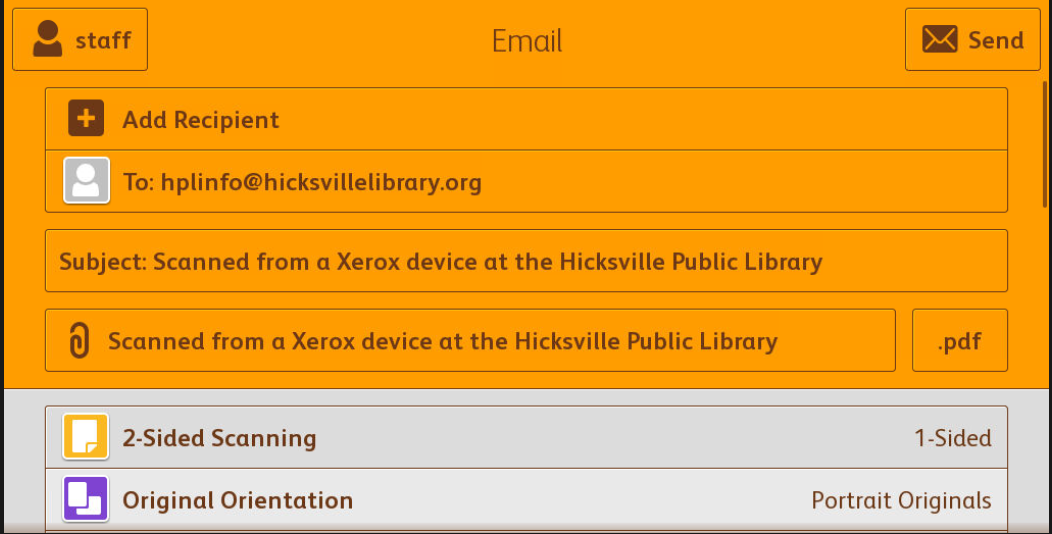
Choose Manual Entry in order to type in the email address(es) you will be sending the document to.
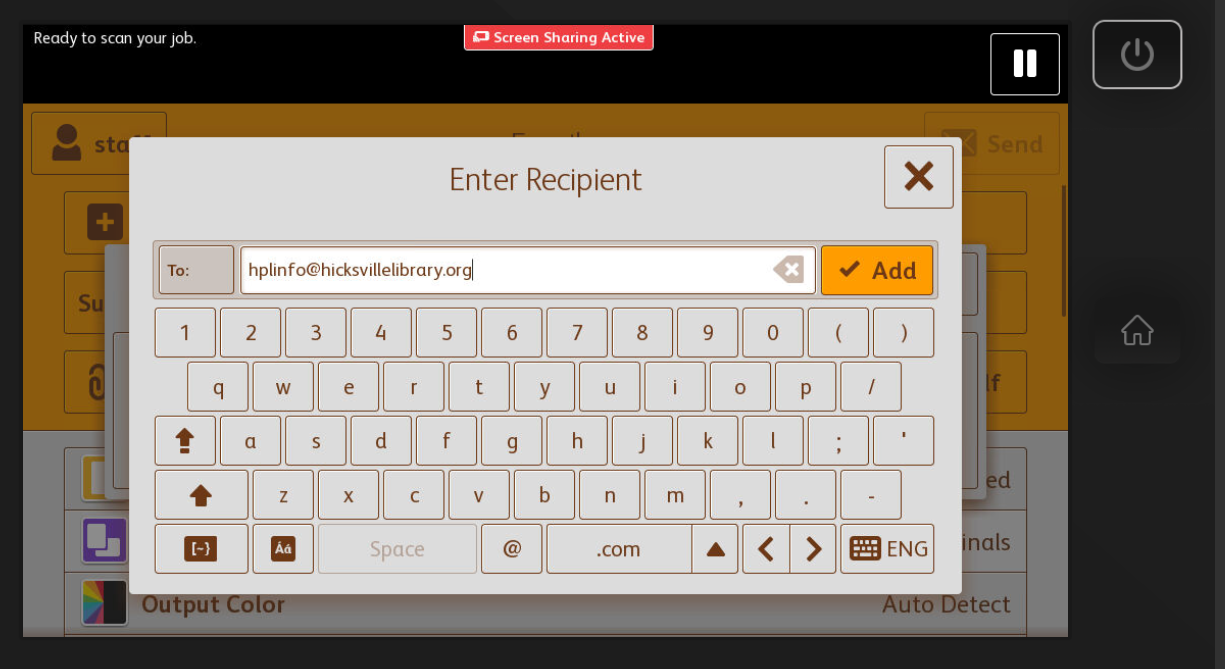
Now use the On Screen keyboard to enter in an Email address. When you are done tap Add.
Now you are almost done, you can choose a variety of settings on this page or add additional Email recipients. By default, the document will be sent as a PDF file and scanned on one Side (Face up!).
Now click Send and your document will be scanned from the document or feeder or the scanner glass.
You are done! You will now receive an email from “hicksvilleprint” with your document attached within a couple minutes.
If you have any questions or need assistance, please ask a staff member.